Understanding Metal-Seated Butterfly Valves and Their Seals
Composition and Function of Metal-Seated Butterfly Valves
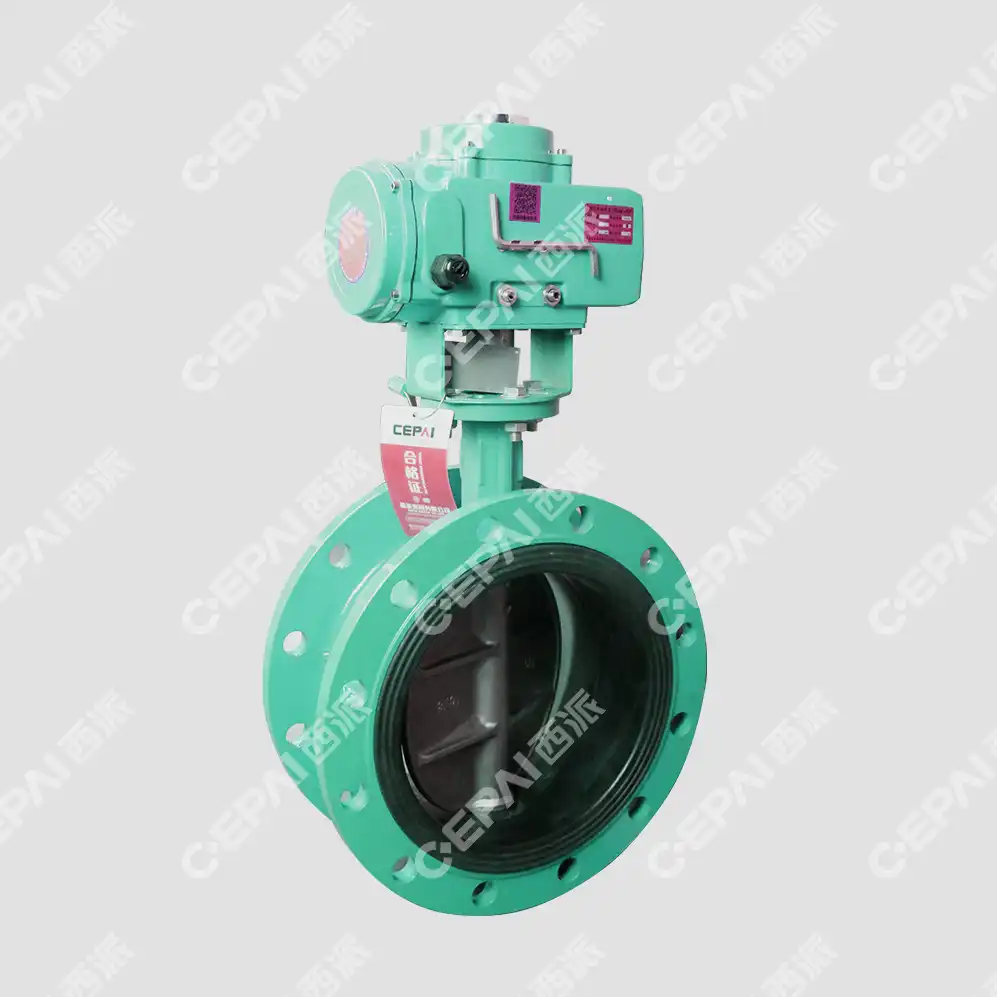
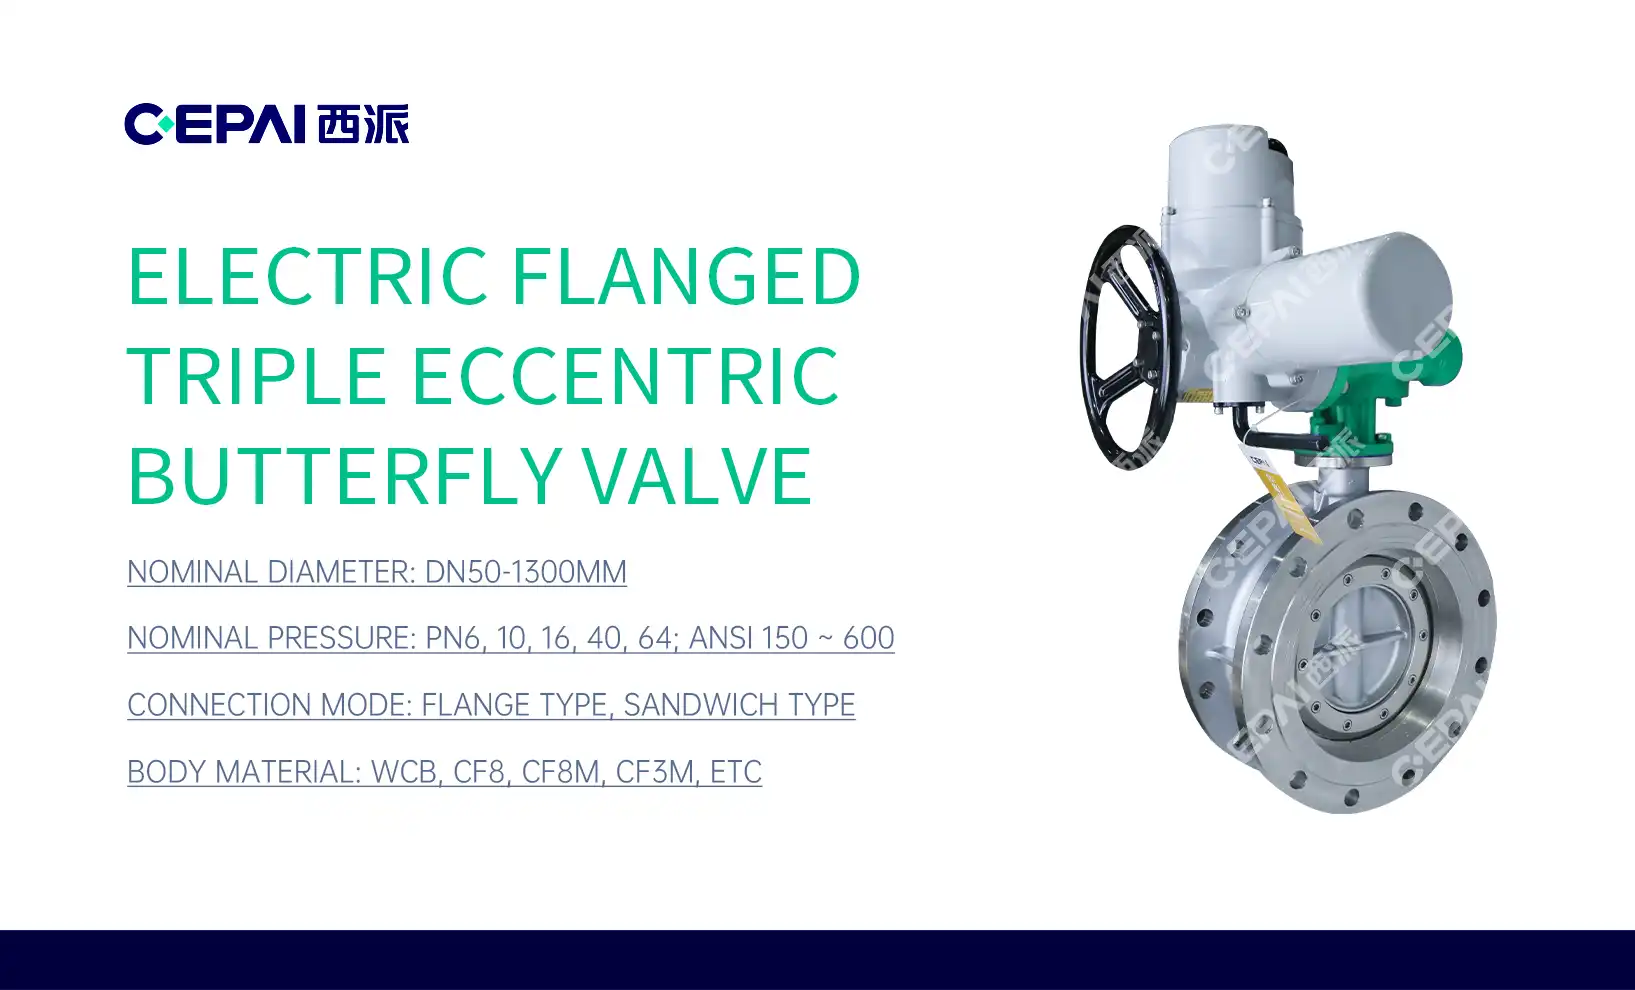
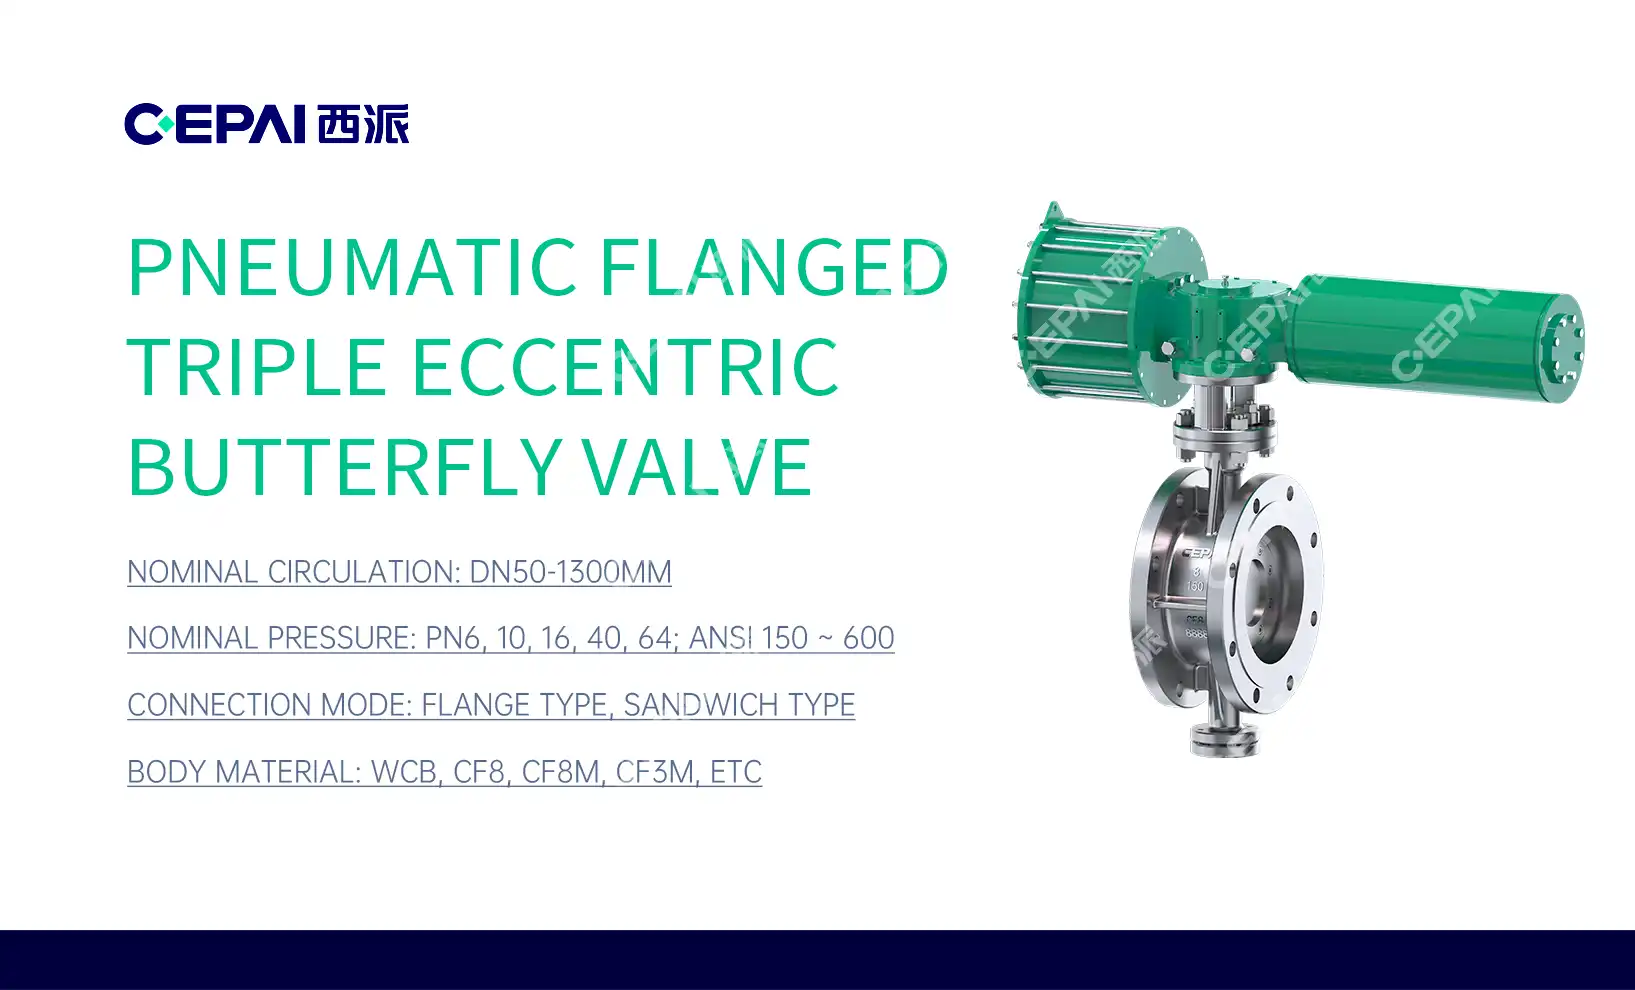
Metal-seated butterfly valves are robust flow control devices widely used in industrial applications. These valves consist of a disc that rotates on a shaft to regulate flow. The metal-to-metal seating arrangement provides exceptional durability and resistance to high temperatures and pressures. The valve's body, disc, and seat are typically made from corrosion-resistant alloys, ensuring longevity in harsh environments.
The primary function of a metal-seated butterfly valve is to control the flow of liquids, gases, or slurries in pipelines. They offer tight shutoff capabilities and can operate in both on-off and throttling applications. The metal-to-metal seal design allows these valves to maintain their integrity even under extreme conditions, making them ideal for use in oil and gas, power generation, and chemical processing industries.
Types and Importance of Seals in Butterfly Valves
Seals play a critical role in the performance of metal seated butterfly valve and metal-seated butterfly valves. There are several types of seals used in these valves, including:
- Primary Seat Seal: This is the main sealing element between the disc and the valve body.
- Stem Seals: These prevent leakage along the valve stem.
- Body Seals: These ensure a tight seal between the valve body and end connections.
The importance of these seals cannot be overstated. They are responsible for maintaining the valve's tight shutoff capabilities, preventing leakage, and ensuring the valve's overall efficiency. High-quality seals contribute to the valve's ability to withstand pressure, temperature fluctuations, and chemical exposure.
Signs of Seal Wear and Deterioration
Recognizing the signs of seal wear is crucial for timely maintenance. Some indicators that the seals in a metal-seated butterfly valve may need replacement include:
- Visible leakage around the valve stem or body joints
- Decreased shutoff performance or increased pressure drop
- Unusual noise or vibration during valve operation
- Difficulty in operating the valve smoothly
- Signs of erosion or corrosion on the valve components
Regular inspection and monitoring of these signs can help prevent unexpected valve failures and minimize downtime in critical processes. When any of these symptoms are observed, it's advisable to conduct a thorough examination and consider seal replacement as part of the valve's maintenance routine.
Preparation and Safety Measures for Seal Replacement
Tools and Materials Required for the Job
Before beginning the seal replacement process for a metal seated butterfly valve, gather the necessary tools and materials. This typically includes:
- Wrenches and socket sets of various sizes
- Screwdrivers (flathead and Phillips head)
- Seal removal tools or picks
- Cleaning supplies (solvent, clean rags, wire brush)
- New seal kit compatible with your specific valve model
- Lubricant approved for valve applications
- Torque wrench for precise tightening
- Safety equipment (gloves, safety glasses, protective clothing)
Having these tools and materials ready will streamline the replacement process and ensure you're prepared for any challenges that may arise during the maintenance procedure.
Safety Precautions and System Isolation
Safety should be the top priority when working on industrial equipment such as a metal seated butterfly valve. Before starting the seal replacement, take the following precautions:
- Ensure the system is completely depressurized and drained
- Isolate the valve by closing upstream and downstream isolation valves
- Lock out and tag out the valve to prevent accidental operation
- Wear appropriate personal protective equipment (PPE)
- Ensure proper ventilation in the work area
- Review and follow all relevant safety procedures and permits
Proper system isolation is crucial to prevent unexpected pressure release or fluid discharge during maintenance. Double-check all isolation points and consider using blind flanges or spectacle blinds for added safety in critical applications.
Preliminary Inspection and Documentation
Before disassembling the valve, conduct a thorough preliminary inspection and documentation:
- Take photographs or create diagrams of the valve assembly
- Note the orientation of all components
- Measure and record critical dimensions or clearances
- Inspect for any visible damage or unusual wear patterns
- Review the valve's maintenance history and previous issues
This documentation will serve as a valuable reference during reassembly and can help identify any underlying issues that may have contributed to seal failure. It's also beneficial to have the valve's technical documentation and manufacturer's guidelines on hand for reference throughout the maintenance process.

Step-by-Step Guide to Replacing Seals in a Metal-Seated Butterfly Valve
Disassembly and Removal of Old Seals
Begin the seal replacement process by carefully disassembling the metal-seated butterfly valve:
- Remove the actuator or handle from the valve stem.
- Loosen and remove the bolts securing the valve body halves.
- Carefully separate the valve body, taking note of any shims or spacers.
- Extract the disc and stem assembly from the valve body.
- Locate and remove the old seals, including the primary seat seal and stem seals.
- Use appropriate tools to avoid damaging the metal surfaces during seal removal.
As you remove each component, inspect it for signs of wear, corrosion, or damage. This is an opportune time to identify any parts that may need replacement beyond just the seals.
Cleaning and Inspection of Valve Components
Thorough cleaning and inspection are crucial steps in the seal replacement process of a metal seated butterfly valve:
- Clean all valve components using an appropriate solvent and lint-free cloths.
- Use a wire brush to remove any stubborn debris or scale buildup.
- Inspect the valve body, disc, and stem for signs of wear, pitting, or scoring.
- Check the seating surfaces for flatness and smoothness.
- Examine the stem bearings and bushings for excessive play or wear.
- Measure critical dimensions to ensure they are within the manufacturer's specifications.
Any components showing significant wear or damage should be replaced to ensure the valve's optimal performance after reassembly.
Installation of New Seals and Reassembly
With the valve components cleaned and inspected, proceed with installing the new seals and reassembling the valve:
- Apply a thin layer of approved lubricant to the new seals.
- Carefully install the new primary seat seal, ensuring it's properly seated in its groove.
- Replace the stem seals, taking care not to damage them during installation.
- Reassemble the disc and stem assembly, ensuring proper alignment.
- Carefully lower the disc and stem assembly into the valve body.
- Replace any shims or spacers in their original positions.
- Bring the valve body halves together, ensuring proper alignment.
- Install and tighten the body bolts to the specified torque, using a crossover pattern.
- Reattach the actuator or handle to the valve stem.
Throughout the reassembly process, refer to your earlier documentation and the manufacturer's guidelines to ensure all components are correctly positioned and oriented. Pay special attention to the alignment of the disc within the valve body to achieve proper sealing.
Post-Replacement Testing and Maintenance
Leak Testing and Functional Checks
After reassembling the metal seated butterfly valve and metal-seated butterfly valve, it's crucial to perform thorough leak testing and functional checks:
- Conduct a low-pressure air test to check for gross leakage around seals.
- Gradually increase pressure to the valve's rated capacity, monitoring for any leaks.
- Perform multiple open-close cycles to ensure smooth operation.
- Check for any unusual noises or vibrations during operation.
- Verify proper seating and shutoff by testing in both flow directions.
- Use appropriate leak detection methods (e.g., bubble test, acoustic emission) for thorough inspection.
Document all test results and compare them against the valve's original performance specifications. Any discrepancies should be investigated and addressed before returning the valve to service.

Proper Torque and Adjustment Procedures
Ensuring proper torque and adjustments is critical for optimal valve performance:
- Use a calibrated torque wrench to tighten all bolts to the manufacturer's specified values.
- Follow a proper bolt-tightening sequence to ensure even load distribution.
- Check and adjust the disc position to achieve proper alignment and sealing.
- Verify the stem packing compression and adjust as needed.
- Set and test limit stops on the actuator, if applicable.
- Conduct a final operational check to ensure smooth and complete valve movement.
Proper torque and adjustments not only ensure leak-free operation but also contribute to the longevity of the newly installed seals and overall valve performance.
Ongoing Maintenance and Monitoring Recommendations
To maintain the integrity of the newly replaced seals and ensure long-term valve performance:
- Implement a regular inspection schedule, including visual checks and leak tests.
- Monitor valve performance parameters such as pressure drop and cycle times.
- Lubricate moving parts according to the manufacturer's recommendations.
- Keep detailed records of maintenance activities and performance trends.
- Train operators on proper valve operation to prevent undue stress on seals.
- Consider implementing predictive maintenance techniques, such as vibration analysis or thermal imaging.
Regular maintenance and monitoring will help identify potential issues early, extending the life of the seals and the overall valve assembly. It's also advisable to keep spare seal kits on hand to minimize downtime during future maintenance events.
Conclusion
Replacing seals in a metal seated butterfly valve or metal-seated butterfly valve is a critical maintenance task that requires attention to detail and adherence to proper procedures. By following this comprehensive guide, maintenance professionals can ensure the longevity and reliability of these crucial flow control devices. Regular seal replacement, combined with proper installation techniques and ongoing maintenance, will minimize downtime, reduce operational costs, and maintain the integrity of industrial processes. Remember that while this guide provides a solid foundation, always consult the specific valve manufacturer's instructions for any model-specific requirements or recommendations.
Contact Us
For high-quality metal-seated butterfly valves and expert guidance on valve maintenance, trust CEPAI Group. Our innovative solutions and commitment to excellence ensure optimal performance in your most demanding applications. Contact us at cepai@cepai.com to learn more about our products and how we can support your valve maintenance needs.


_1746598538016.webp)


