Understanding Butterfly Valves and Common Causes of Leaks
Anatomy of a Butterfly Valve
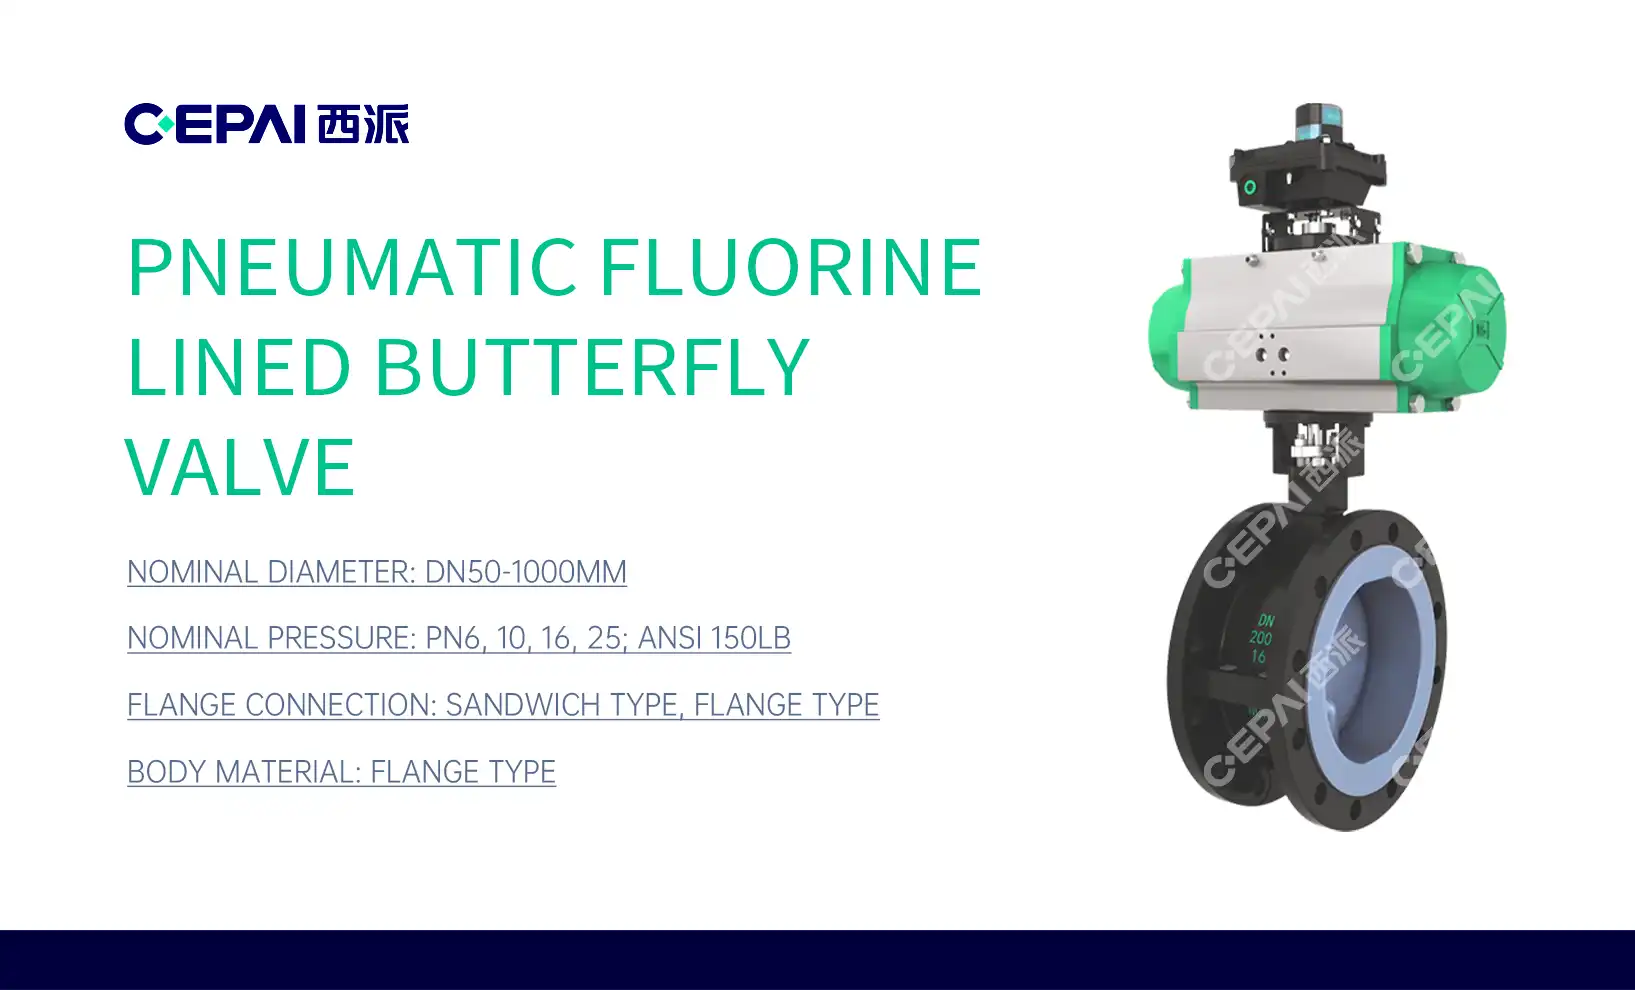
Butterfly valves are quarter-turn rotational motion valves used to regulate flow in various industries. The main components include the body, disc, stem, and seat. The disc, typically circular, rotates on the stem to open or close the valve. The seat provides a seal when the valve is closed. Understanding these components is crucial for effective troubleshooting and repair.
Types of Butterfly Valves
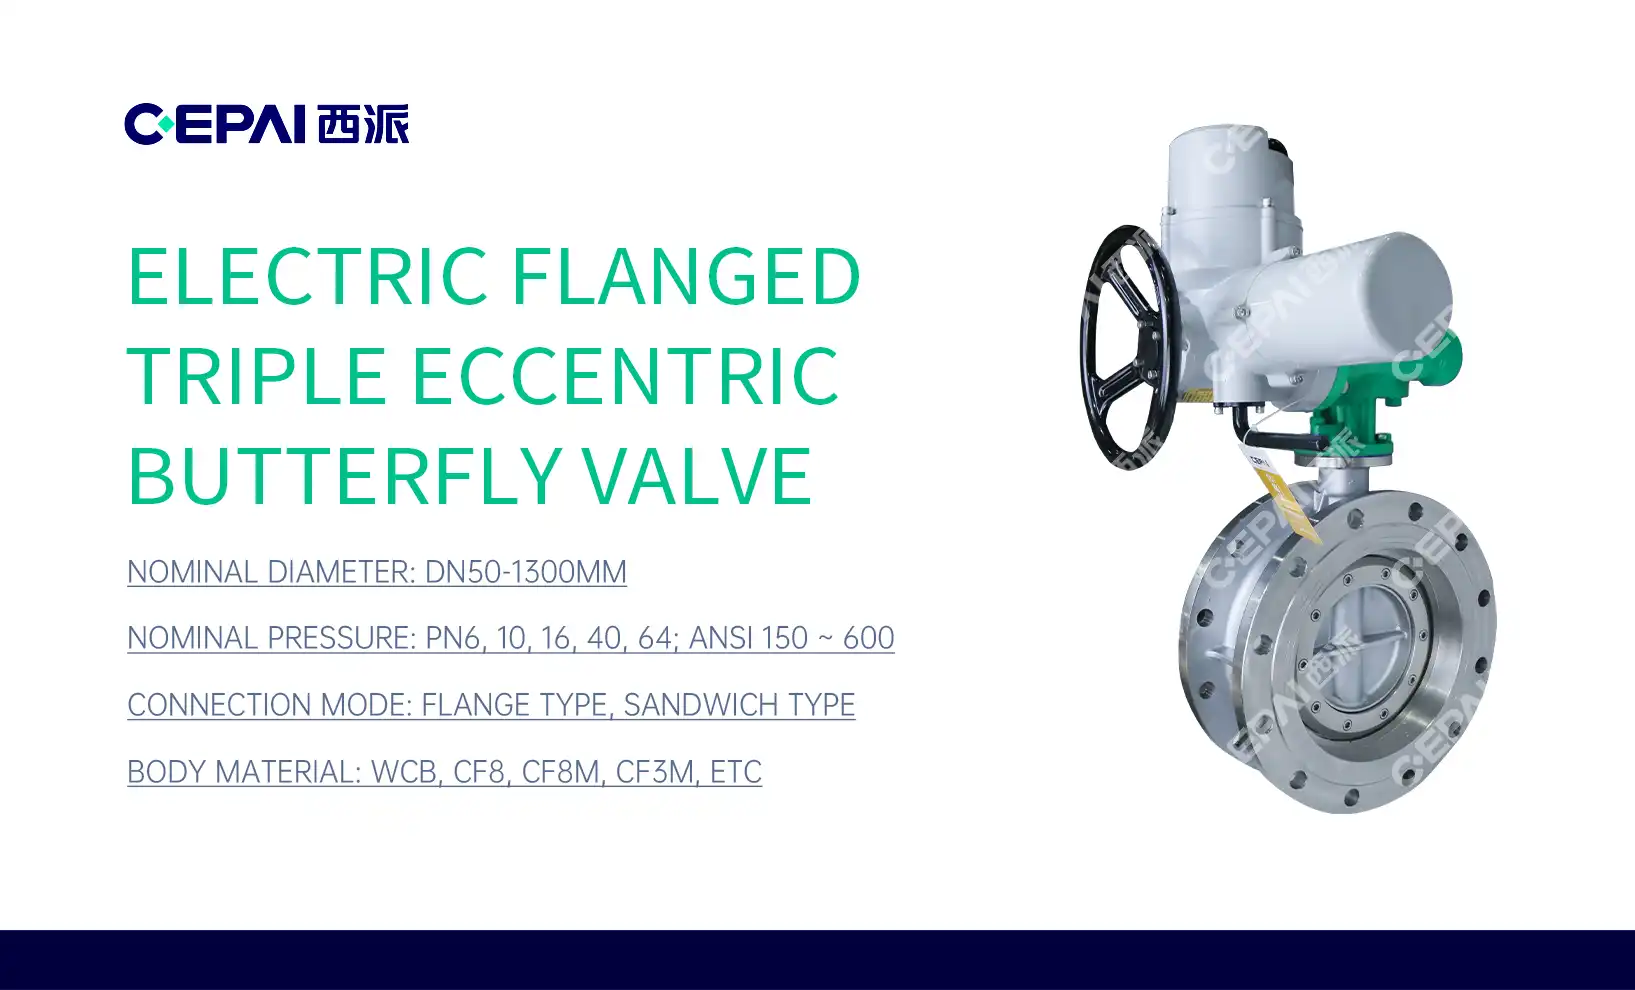
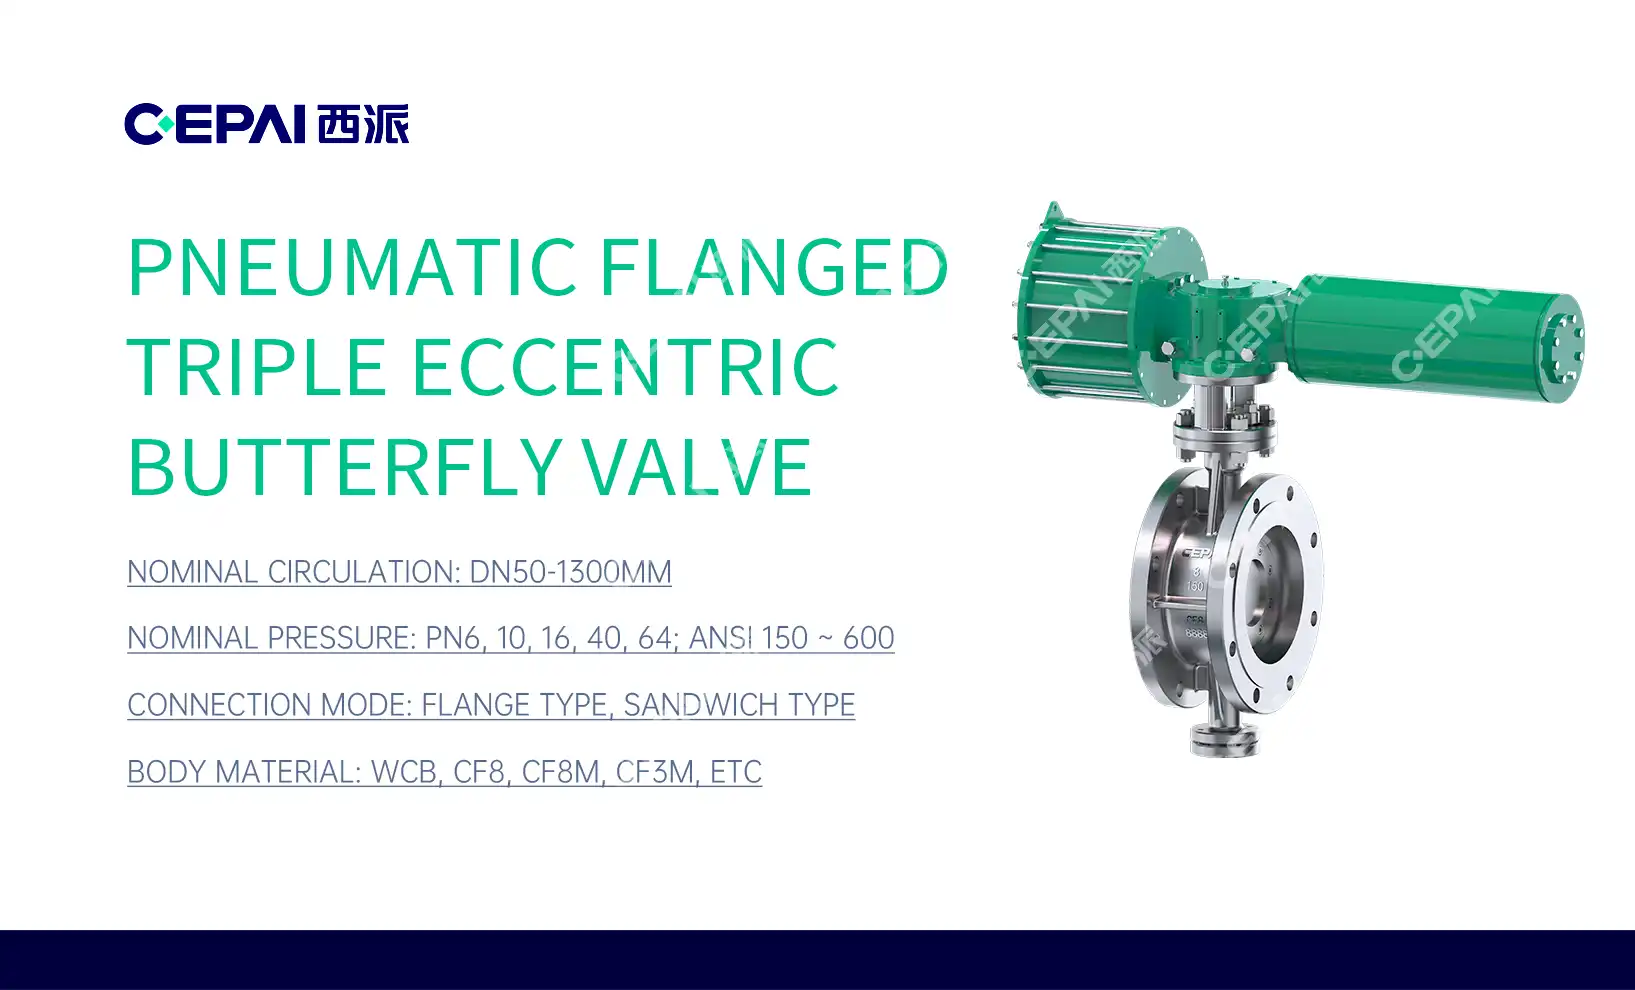
Butterfly valves come in several types, including concentric, double-eccentric, and triple-eccentric designs. Each type has unique characteristics that affect their performance and potential for leaks. Concentric valves are the most common and simplest design, while eccentric designs offer improved sealing capabilities for high-pressure applications. Recognizing the specific type of butterfly valve you're dealing with is essential for proper maintenance and repair.
Common Causes of Butterfly Valve Leaks
Leaks in butterfly valves can occur due to various reasons. Wear and tear on the seat or disc is a frequent culprit, especially in valves subjected to frequent cycling or harsh environments. Misalignment of the disc and seat can also lead to leaks, as can damage to the stem or actuator. In some cases, improper installation or maintenance procedures can cause leaks. Environmental factors like temperature fluctuations or chemical exposure may also contribute to seal degradation over time. Identifying the root cause is crucial for effective repair and prevention of future leaks.
Preparing for Butterfly Valve Repair
Safety Precautions and Equipment
Before attempting any valve repair, safety should be the top priority. Ensure the system is completely depressurized and drained. Use appropriate personal protective equipment (PPE) such as safety glasses, gloves, and protective footwear. If working with potentially hazardous materials, consult safety data sheets and use appropriate respiratory protection. Have a fire extinguisher nearby if dealing with flammable substances. Proper lighting and a clean work area are also essential for safe and effective repairs.
Tools and Materials Needed
Gathering the right tools and materials before starting the repair process can save time and frustration. Common tools include wrenches, screwdrivers, pliers, and a torque wrench for precise tightening. Specialized tools like seat pullers or disc alignment tools may be necessary depending on the valve design. For materials, have replacement gaskets, seals, and lubricants on hand. It's also wise to have cleaning supplies such as lint-free cloths and appropriate solvents. If possible, obtain a repair kit specific to your valve model, as these often include all necessary replacement parts.
Valve Isolation and System Preparation
Proper isolation of the butterfly valve is crucial for safe and effective repair. Close upstream and downstream isolation valves to prevent flow through the valve being repaired. If possible, install blind flanges or use lockout/tagout procedures to ensure the valve remains isolated during maintenance. Relieve any residual pressure in the isolated section and allow it to cool if necessary. Document the valve's current position and any relevant system parameters before disassembly. This preparation not only ensures safety but also facilitates easier reassembly and system restart after repairs are complete.
Step-by-Step Butterfly Valve Repair Process
Disassembly and Inspection
Begin the repair process by carefully disassembling the butterfly valve. Remove the actuator or handle, then the bonnet or cover plate. Extract the disc and stem assembly, taking note of their orientation. Inspect each component meticulously for signs of wear, corrosion, or damage. Pay particular attention to the seat and disc edge, as these are critical sealing surfaces. Check the stem for straightness and any signs of stress. Document any findings to guide your repair strategy and help prevent future issues. Use a magnifying glass or borescope for detailed inspection of small parts or hard-to-reach areas.
Cleaning and Parts Replacement
Thorough cleaning is essential for effective repair. Use appropriate solvents or cleaning agents to remove any buildup, scale, or debris from all components. Pay special attention to sealing surfaces and small crevices where contaminants may accumulate. After cleaning, dry all parts completely to prevent corrosion. Replace any worn or damaged components, such as seals, gaskets, or bearings. If the disc or seat show significant wear, consider replacing these as well. Always use manufacturer-approved replacement parts to ensure proper fit and function. Apply appropriate lubricants to moving parts as specified in the valve's maintenance manual.

Reassembly and Testing
Reassemble the butterfly valve with care, ensuring all components are correctly aligned and oriented. Use a torque wrench to tighten fasteners to the manufacturer's specifications. This prevents over-tightening, which can damage components, or under-tightening, which can lead to leaks. Once reassembled, manually operate the valve through its full range of motion to check for smooth operation. Reinstall the valve in the system, ensuring proper alignment with the piping. Gradually repressurize the system and check for leaks around the valve body, stem, and flanges. Operate the valve several times under normal system conditions to verify proper function and sealing. Document all repair actions and test results for future reference and maintenance planning.
Conclusion
Fixing a leaking butterfly valve requires a systematic approach and attention to detail. By understanding the valve's components, preparing adequately, and following a step-by-step repair process, you can effectively resolve leaks and extend the valve's service life. Regular maintenance and prompt attention to minor issues can prevent more significant problems down the line. Remember that while many repairs can be performed in-house, complex issues or valves in critical applications may require professional assistance. Proper care and maintenance of butterfly valves not only ensures reliable operation but also contributes to the overall efficiency and safety of your industrial processes.
Contact Us
For expert assistance with butterfly valve maintenance and repairs, trust CEPAI Group. Our experienced technicians and high-quality replacement parts ensure optimal valve performance and longevity. Contact us at cepai@cepai.com to learn how we can support your valve maintenance needs and improve your system's reliability.
_1746598531170.webp)